Chickens are not only great at providing fresh eggs but also help with bug control and make excellent pets as they are quite social. Therefore, it is not surprising that people like raising a flock of their own. As exciting as it is to raise chicks in your backyard, it can also be scary when you aren’t quite sure where to start when it comes to setting up a brooder.
The most important equipment for a brooder:
1. A brooder e.g. a small rabbit cage*
2. Bedding, such as aspen shavings* or hemp bedding*
3. Brooder lamp* or Heating plate* and a thermostat
4. Chick waterer*
5. Chick Feeder* and chick starter feed*
Your chicks need to be introduced to a brooder once they arrive. However, for that to happen, you need to have everything that they will need set up and ready. Brooders are necessary until chicks are fully feathered. In all but the hottest climes, incubator-hatched chicks cannot be properly raised without a brooder. Therefore, information on how to set up a brooder is important.
Contents
1. Find A Suitable Brooder
Firstly, you want to set everything up quickly before your chicks arrive. Approximately 48 hours before the chicks arrive, assemble the brooder. This will give the equipment and bedding you set up time to dry and the temperature a chance to distribute evenly, so it is just right for when the chicks arrive. You will need several items for the first day and going forward.
Your first goal should be to find a spacious and appropriate brooder for chicks to grow in. Remember that your chicks have been freshly hatched and are used to a warm, wet environment. This will be their first home.
Make sure each chicken has a minimum of three to four square feet that are cozy, warm, and draft-free. The kind of brooder that you pick can basically be anything. However, It should be circular and a container you can expand as your chicks grow.
Most people typically go with a large, circular container, while others go with a mesh-like tent* that you can zip all the way around. What you do not want to do is set your chicks up in a box. Those are easily susceptible to wear and tear and can get soggy when exposed to water or moisture. Plus, chicks tend to scratch and kick with their feet, so box brooders will not last long.
Ensure that the sides of your brooder are fairly tall, so the chickens do not fly out, as chicks tend to try to fly at around 2 weeks old.
2. Add Bedding To The Brooder
Once you have a suitable brooder to place your chickens in, it is time to set it up. The first item to place in the brooder is some bedding. To the brooder’s floor, add bedding made of absorbent wood shavings. To keep the space dry and odor-free, bury the bedding three to four inches deep.
Daily bedding changes should be made, especially near waterers. Strong-smelling shavings, such as cedar or other varieties, can harm a bird’s long-term health. You want to use absorbent wood shavings to ensure that they absorb any water or chicken fluids so no odor builds up.
Some people use a layer of newspaper instead, but that is not recommended. This is because newspapers have chemicals and toxins that can harm the chicks due to the ink used. Other alternatives would be shredded paper or hay laid evenly on the brooder’s floor. You can use paper towels if you do not wish to introduce bedding earlier. You can also choose to get chick-made bedding from pet shops.
3. Place A Heap Lamp And Thermo In The Brooder
As mentioned above, chicks need warmth as they cannot thermoregulate by themselves just yet. Furthermore, they haven’t grown the feathers that will keep them warm. Put a heat lamp in the brooder’s center for warmth.
Hang the lamp around 2.5 to 3 feet away from the sides of the brooder and roughly 20 inches above the bedding. The heat lamp should not be close to the bedding because it can become a fire hazard. The comfort zone, which is under the lamp, should be 95 degrees Fahrenheit.
The space in the brooder should be enough for your chicks to escape the heat when they need to, especially if it becomes too hot. Once you settle the chicks in the brooder, check that the temperature remains at 95 degrees.
You will also notice that the temperature is just right when the chicks are evenly distributed in the brooder. In addition to a heat lamp, most people also like using a thermo poultry brooder. This is a piece of excellent equipment to have as it will simulate where the chicks would go to sit under their mother hen to get warm.
Go for a thermo poultry brooder that you can adjust in height as the chicks grow. This way, they can still go underneath it should they wish to whenever they want. Furthermore, you can choose to add another light source that is not a heat lamp.
This is because chicks generally need a certain amount of light, whether sunlight or artificial light. As they are newly hatched chicks, artificial light will need to be set up. Ensure that your chicks get light from 18 to 22 hours a day.
The amount of light provided will be reduced as the chicks grow. However, during the initial setup, ensure that you have an automated light that produces the necessary hours needed. Ensure that you test it out before the chicks arrive. Generally, around 40 watts of light are needed to illuminate 100 square feet of floor space.
The correct temperature can also be seen in the behavior of the chicks:
- Chicks are evenly distributed in the brooder -> temperature is ideal
- Chicks are all cuddled together under the heat lamp -> temperature is too low
- Chicks avoid the heat lamp -> temperature is too high
You can learn how to adjust the temperature over time in this article.

4. Ensure That There Is Water Available In The Brooder
A waterer is an important item to have in the brooder. Remember that the chicks have probably not had anything to drink or eat. They are also probably exhausted and dehydrated from traveling. Therefore, it is essential to have water ready for when they arrive. Ensure that you have water that is at room temperature available for your chicks.
For example, you will need two 1-quart waterers in the brooder. Again, these should be filled with room temperature water. The two 1-quart waterers are generally for every 25 chicks you have. Ensure that you place the waterers on the outer areas of the brooder.
That’s to say, the waterer should not be placed under the brooder’s heat lamp or any other light bulbs. Place the water in the brooder 24 hours before the chicks arrive to help keep it at room temperature. Allows the chicks to drink the water provided, so they rehydrate for a couple of hours before letting them eat.
Fresh, high-quality water is necessary for your chick’s wellness. Many assume that just because chicks are born knowing how to walk, they also know how to drink and eat. This is not the case. A part of setting up the brooder is also settling the chicks in. To assist the chicks to find the water:
- Dip their beaks into the water. Ensure that you handle your chicks carefully when you do this.
- Be careful to dip just their beak in and not too deep as you risk getting water up their nostrils.
- Wait and watch to ensure that each chick actually drinks some water when you dip their beaks in.
Those whose beaks have been dipped in the water will typically instruct others on how to drink if they still haven’t gotten the hang of it. Verify that all drinking occurs within the first couple of hours. You do not want your cheeks to get dehydrated more than they were when they first arrived.
You can add electrolytes to their water to help your chicks hydrate even faster and better. This can be bought at any pet store. Simply follow the instructions on how it should be mixed into the water. Ensure that you clean the water out every day. Chicks need fresh, new water daily.
Be careful of the waterer that you choose to use. Chicks can easily fall in and drown. Ensure that you either use a hanging waterer or place a few pebbles in the one that is on the ground. This way, they will mostly fall onto the pebbles and not directly into the water if they fall in.
5. Have A Feeder Ready For Your Chicks
Now that your chicks have quenched their thirst for all intents and purposes, the next step is to let them slack their hunger. All types of feeders can either be bought online or at pet stores. Generally, people start with trough feeders.
These are on the ground where your chicks can easily get to them. It would be wise to get a trough feeder where the feeding holes are not big enough for the chicks to scratch inside and waste feed. Flinging feed is an age-old practice among poultry keepers that dates back many generations.
You can also always DIY your own feeder if you wish to. For example, a feeder that is accessible can be made from clean egg cartons loaded with feed. Ensure that you give each chick 4 horizontal inches of feeder area. Some people like to go with a low-lying feeder. This is generally to prevent feed waste.
However, you can nearly always prevent the chicks’ poop from getting into the feed if you use a feeder that hangs at the chicks’ eye level. Other people simply like to throw in some feed directly on the floor. However, that method has a drawback as not all chicks will be able to eat, especially if some are hogging the space where the feed is thrown.
If you have a larger chick flock, some chicks may, unfortunately, miss out on meal times. Suppose you are wondering what to feed your chicks. In that case, chick starter is a good feed popular among other chick raisers. This can usually be found at any pet or feed store. Go for the unmedicated chick starter.
Ensure that you get a 20 percent starter grower. You could also use a 24 percent feed. However, usually, only 20 percent is used for laying hens. 24 percent is mostly used for meat birds and even game birds. To supply the energy required for growth, starter feed of as little as 18 percent protein should be given to the chicks.
However, as mentioned above, 20 percent is best for chicks that have just hatched. Amino acids for growth, probiotics, yeast, and prebiotics for immunological health, as well as minerals and vitamins to help support bone health, should all be included in your chick’s diet.
You’ll want to keep the feed close to the brooder to make it easy to reach when you need to refill the feeder. Remember that water should be introduced first, and the feed should be introduced after a couple of hours. Therefore, the feeder should be ready but placed to the side at first. Once the chicks have had a chance to rehydrate, give them nourishment by giving them feed.
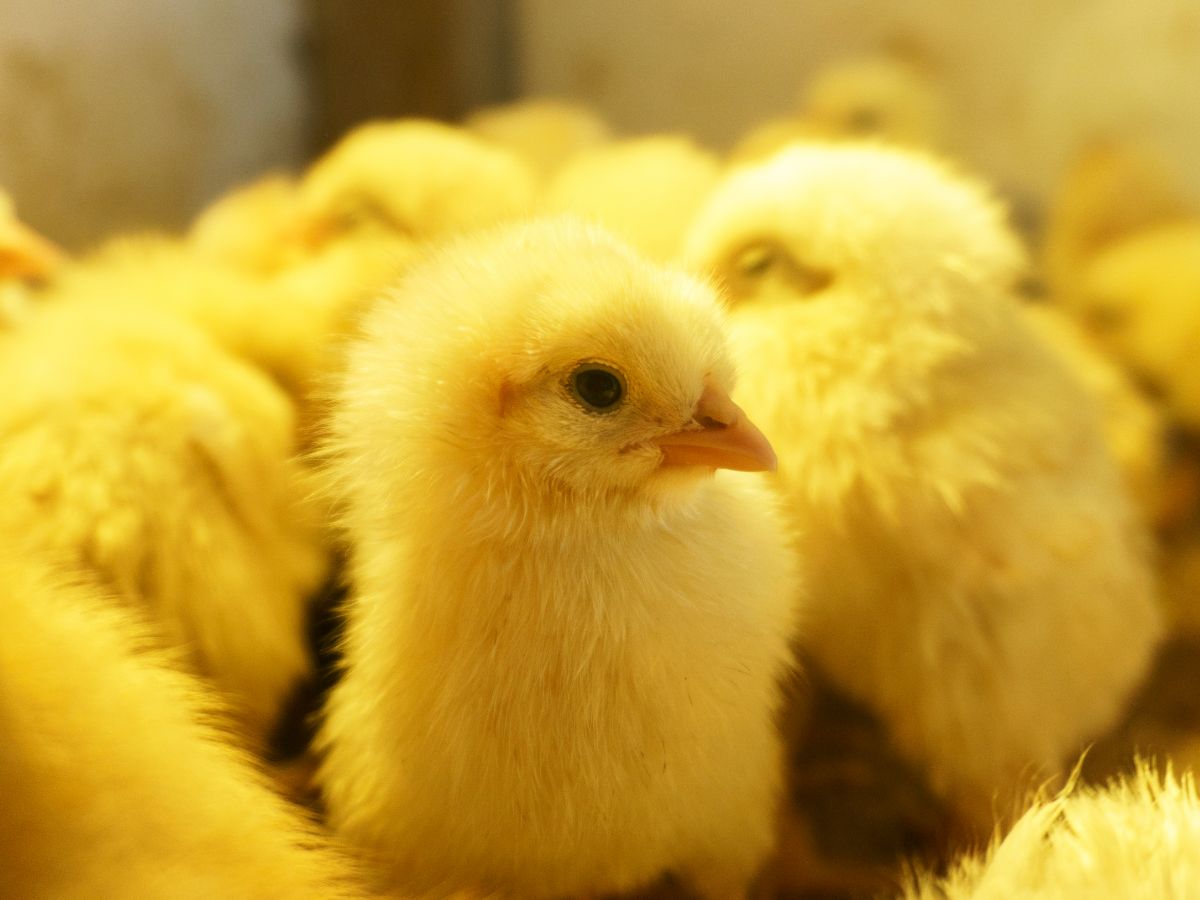
6. Settle Your Chicks In
All that is left to do is to place your chicks in the brooder now that it has been properly set up.
Conclusion
Setting up a brooder for your chicks isn’t exactly rocket sciences. Chicks simply need a brooder that is dry, warm, secure, and has sufficient food and water for all the chicks to eat and drink. With the information mentioned above, you should be able to set up a brooder that accommodates chicks and keeps them happy.
If you’re wondering when your chicks can move outside from the brooder, you can read this article.