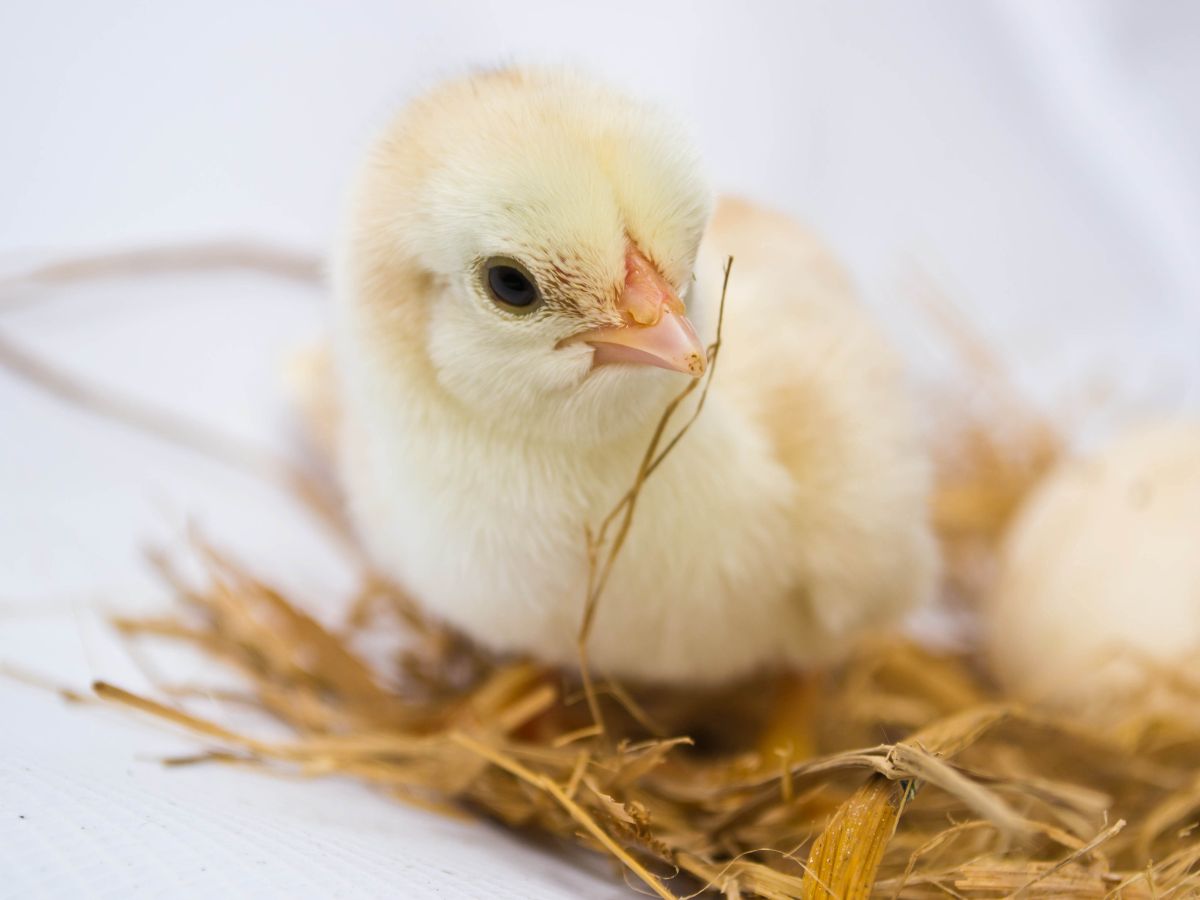
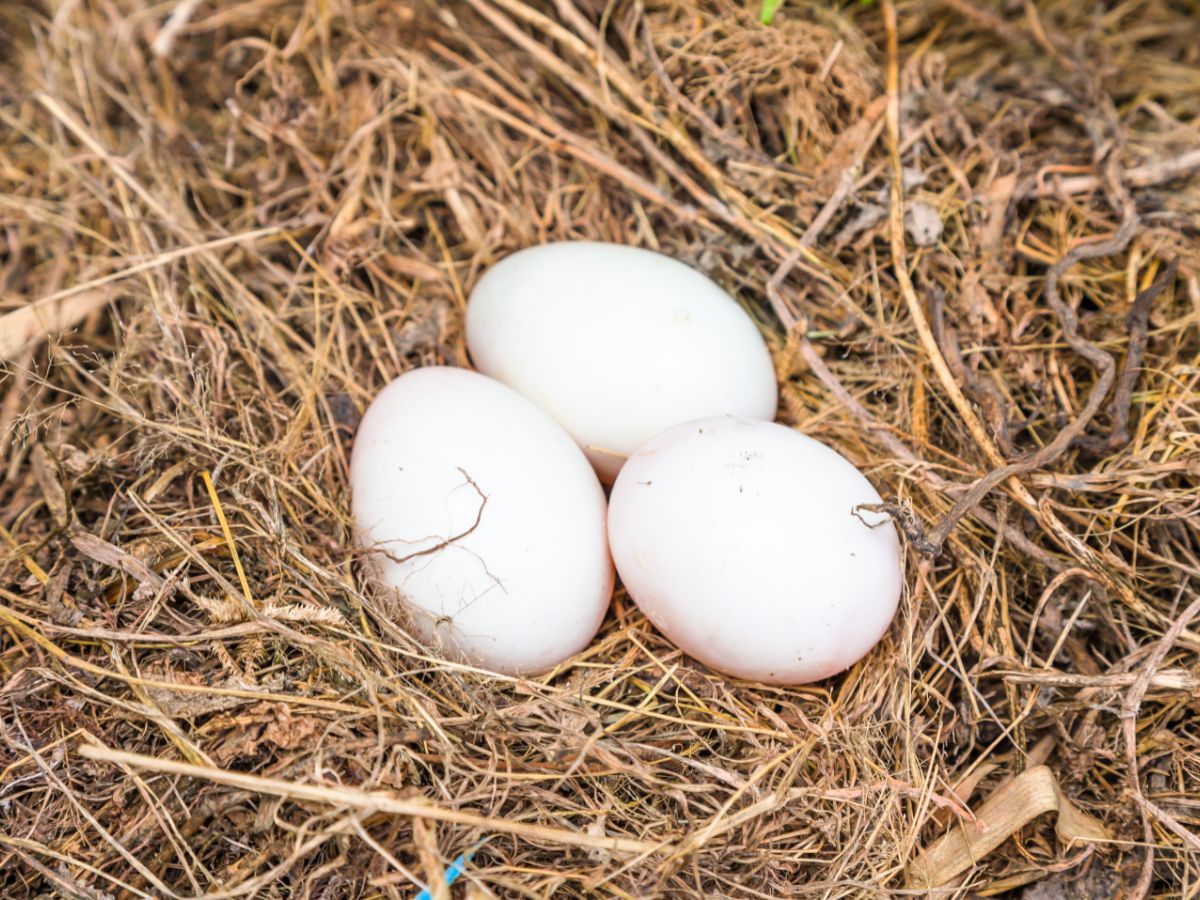
Hatching chicken eggs is one of the most fun and exciting parts of keeping backyard chickens! There is nothing cuter than watching a brood of tiny, yellow chicks emerge from their shells. But incubating and hatching your first clutch of eggs can be quite intimidating. You do not want to make any fatal errors!
There are two methods of incubating and hatching chicken eggs. You can put the eggs under a broody hen and let her do the work. Or you can incubate the eggs in an electric incubator set to exactly 99.5°F. The eggs must be continuously rotated, and after 21 days, the hatchlings will emerge.
Most backyard chicken owners choose to incubate the eggs themselves. The process is relatively simple, but there are a few things you must get perfectly right. This article explains what you have to do to successfully incubate and hatch your first clutch of chicken eggs.
Contents
How To Hatch Chicken Eggs Naturally
The simplest and most cost-effective way to hatch a clutch of chicken eggs is to let nature take its course. Hens’ mothering instincts kick in when they become broody.
Broodiness is caused when hens experience a surge of hormones, usually in the spring when temperatures start to increase. The exact trigger for broodiness is not well understood. You can encourage a hen to become broody by leaving artificial eggs* in the nesting box.
When a hen is broody, all they want to do is sit on a clutch of eggs. Hens cannot tell whether eggs belong to them or another hen. If you put any clutch of chicken eggs under a broody hen, she will sit on them and incubate them with her warm body.
Therefore, to hatch a clutch of chicken eggs naturally, you should follow these steps:
- Get a clutch of about 12 fertile eggs. You can order them online from a breeder, or if you have a rooster, you can collect fertilized eggs from your hens.
- When you notice that one of the hens is broody and remains on her nest 24 hours a day, it is time to place the clutch of eggs under the hen.
- Broody hens are feisty and aggressively defend their nests. To avoid being pecked, the best time to place eggs under a hen is after sunset.
- Keep a watchful eye on her to make sure that she is sitting on her eggs for the whole day. She should only leave the nest for about 20 minutes per day to eat, drink, and stretch her legs.
- After 18 days, the chicks will begin breaking through the egg shells. From the time they pip through the eggs to when they fully emerge from the shells takes one or two days.
- After 21 days, the full clutch of chicks will have hatched, and you will hear tiny peeps coming from beneath the mother hen.
- The hen will continue caring for her chicks for around 8 weeks, helping them feed and keeping them warm. You can simply enjoy watching as she does all the work!
Can You Incubate Chicken Eggs Without A Hen?
Unfortunately, modern hens are not always the best mothers. Because hens stop laying eggs while they are broody, many breeds have had the genetic ability to turn broody bred out of them so that chicken farmers do not have expensive, unproductive periods.
For this reason, many backyard chicken owners prefer to take it upon themselves to incubate and hatch the eggs. However, becoming a mother hen involves a steep learning curve.
Hens instinctively do many things to ensure that the eggs hatch successfully. They fuss over the eggs, constantly moving and turning them. Turning the eggs is important for regulating their temperature and keeping them as close to the optimal temperature of 99.5°F as possible.
Electric incubators are designed with a turning rack that automatically moves the eggs throughout the day, mimicking a hen’s behavior. If your incubator does not have a turning rack, you must turn the eggs yourself at least 3 times a day.
Electric incubators* must have a thermometer and a hygrometer so that you can monitor the temperature and humidity levels around the eggs.
To incubate a clutch of eggs without the help of a hen, you need the following equipment and materials:
- An electric incubator* (with a turning rack)
- Thermometer (built-in to the incubator)
- Hygrometer
- Water
- Paper towels
- Torch or Egg Candler*
How To Incubate Chicken Eggs
You must follow these steps closely to successfully incubate a clutch of eggs using an electric incubator:
- Set the incubator up, plug it in, turn it on, and ensure that the heating element and turning rack are working as they should.
- Fill the incubator’s water chamber with water for the humidifier.
- Leave the incubator running without any eggs inside. It takes several hours to reach the appropriate heat and humidity levels.
- Check the thermometer and hygrometer. The temperature should be 100°F, and the humidity should be 50 to 60%. Adjust the incubator’s settings if necessary.
- Double-check the incubator’s temperature using a medical thermometer (better to be safe than sorry!). Too cold, and the eggs may not develop. Too hot, and the chicks develop deformities.
- Use a torch to inspect each egg for hairline cracks or irregularities in the shell. Hold the egg up to the lamp to illuminate it from inside. Do not incubate any cracked or deformed eggs!
- Place the eggs onto the turning tray inside the incubator. Position the eggs so that they are slightly angled, not upright. The eggs’ pointed ends must be angled down.
- Shut the incubator and leave it for an hour.
- Triple-check the temperature and humidity levels and make any necessary adjustments.
- Leave the incubator on and check the water level daily.

Can You Hatch Chicken Eggs Without An Incubator?
The cheapest electric incubators* cost around $100. Fancier ones cost several hundred dollars. You may be wondering if an incubator is really necessary? Is there a more cost-effective alternative?
While incubators with automatic temperature and humidity controls are extremely convenient, it is not strictly necessary to use an electric incubator to hatch chicken eggs. You can easily (and cheaply) build a DIY incubator with materials you already have at home.
Stand-alone egg turning racks are available, and you can install one in a DIY incubator. It is optional, but it saves a lot of time and effort. Without an automated turning rack, you must manually turn the eggs three times a day until they begin hatching.
How To Make A DIY Incubator For Chicken Eggs
To build your own incubator, you need to gather the following:
- An insulated box, like a Styrofoam cooler box
- A 25-watt lightbulb
- Socket for the bulb
- Chicken wire
- Digital thermometer and hygrometer
- A small bowl of water
- Sponge
- Glass from a picture frame
- Duct tape
- Craft knife/box cutter
- Turning rack (optional)
Follow these steps to build an egg incubator:
- Use a craft knife to cut out a hole large enough for the socket on one end of the Styrofoam box.
- Stick the socket into the hole and secure it on both sides of the box using duct tape.
- Wire up the socket so that you can power the bulb from a wall plug.
- Screw the bulb into the socket inside the box.
- Build a cage around the lightbulb using chicken wire. This is to keep the new hatchlings a safe distance from the heat lamp.
- Install the digital thermometer and hygrometer on the opposite side of the box. This is where the eggs will sit.
- Place a small dish filled with clean water and a sponge into the incubator. This will help to regulate the humidity inside the box. To increase humidity, squeeze more water out of the sponge. To decrease the humidity, push down on the sponge so that it soaks up more water.
- Use a craft knife to cut a window in the Styrofoam box lid. The hole must be slightly smaller than the piece of glass you are using.
- Place the glass over the hole and secure it around the edges using duct tape. You have just created a viewing window so that you do not need to open the box to check the temperature and humidity levels.
- Put the lid on the box and create a hinge on one side using duct tape.
- Switch the lightbulb on, shut the lid, and leave it on for a day without any eggs inside.
- Check the temperature. If it is hotter than 100°F, punch a few small ventilation holes in the side of the box.
- After a few hours, check the temperature again. If it is cooler than 99°F, use duct tape to cover a few of the holes.
- Adjust the humidity as needed. Keep it between 50 and 60%.
- When the temperature and humidity levels are optimal, it is time to place the eggs!
How To Manually Turn Eggs During Incubation
If your incubator does not have a turning rack, you will have to take on the job of turning the eggs manually. Here’s what you need to do:
- Use a pencil to lightly mark each egg with a cross on one end and a circle on the other end. This is useful for keeping track of which eggs you have turned.
- In the morning, at midday, and in the evening, gently pick up each egg and rotate it a quarter to half a turn.
- You must do this at least three times daily for the first 18 days.
What To Do When The Chicks Start Hatching
After 18 days, you should switch off the turning tray or stop manually turning the eggs. Very gently place the eggs on the level floor of the incubator. Increase the humidity to around 70% as this helps the chicks hatch.
It is thrilling when the first baby chicks begin pipping through their eggshells! You will hear sweet little peeps coming from the incubator.
After making a small hole in the egg, the hatchlings draw their first breath. Breaking out of the egg is a tiring process, and it is normal for the baby chicks to rest during the process.
From the first pipping, it takes 24 to 48 hours for the chicks to fully emerge. Sometimes it may take up to 5 days for all the eggs in the clutch to hatch.
During this time, it is critical not to open the incubator. Doing so will cause the temperature and humidity level to fluctuate, making it more difficult for the hatchlings to emerge.
As enticing as it is to pick up one of the tiny babies or help them out of their shells – don’t! Pulling a hatchling out of its shell before it is ready can cause injury and even death.
If some of the chicks are fully out of their shells while others have just pipped, do not open the incubator to remove the hatchlings.
It is perfectly safe for the chicks to stay in the incubator for 24 to 48 hours after the last chick has hatched. They do not require food or water during their first two days of life.
After that you can put them in brooder. Here you should have the following equipment:
– Heating plate* or heat lamp*
– Chick Feeder and Waterer*
– Bedding, such as hardwood shavings*
To learn how to best set up your chick home, check out this article.
When To Move Hatchlings From The Incubator To The Brooder
Once the chicks are out of their shells, the excitement to pick them up is overwhelming! How long should you wait to move the babies into their brood box?
It is important for the chicks’ soft, yellow down to dry before you open the incubator. You should wait until day 23 before moving the hatchlings from the incubator to the brooder. This will give the stragglers time to emerge from their shells.
If some of the eggs have not hatched by day 23, it is safe to assume that they are not viable. Dispose of these eggs.
Conclusion
Hatching out a clutch of chicken eggs is immensely rewarding whether you do it naturally or assume the role of mother hen yourself. As long as you have an incubator of some sort and keep a close eye on the temperature and humidity levels, you will almost certainly have success!
If you want to know what signs show that your chicks are about to hatch, you can read this article.


